Paul Allen, the co-founder of Microsoft, is among the wealthiest guys on earth. He likes to spend cash on his avocations, and two of his hobbies are science fiction and rock ‘n’ roll. Guess what the outcome is? Seattle’s trippy Experience Music Project nestled within it on two floors and an attraction in its right […]
The Science Fiction and Fantasy Hall of Fame 2004 Inductees

The Science Fiction and Fantasy Hall of Fame was established in 1996 by the J. Wayne and Kansas City Science Fiction and Fantasy Society and Elsie M. Gunn Center for the Science Fiction Study at the Kansas University. Each year from 1996 to 2004, the Hall of Fame honoured four people from the continuing excellence […]
How to Check Kroger Weekly Ad Preview?

What is a Kroger Weekly Ad? A Kroger Weekly Ad is a publication that showcases the latest deals and discounts available at your local Kroger store. These ads are updated every week and contain special offers on various items, including grocery products, meat and seafood, produce, cleaning supplies, beauty products, baby items, and more. To […]
Storeopinion.CA No Frills Survey: Win a $1000 Gift Card
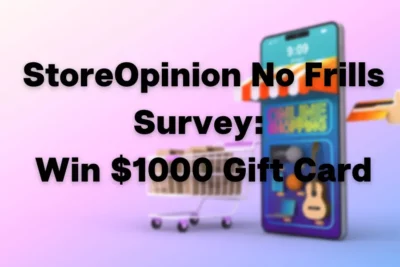
Whenever the Www.Storeopinion.CA No Frills customer survey appears, most people browse the internet to learn more about it. There to break the ice, this informative piece would help you to get the gist of What Is Storeopinion.CA No Frills Survey, Sweepstakes Rules & Requirements & Rewards. Let’s knuckle down the following segments to cover every […]
MyBKExperience – Burger King Survey
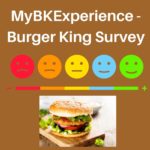
Burger King is interested in getting accurate and honest opinions from customers about the quality of their menu, their customer service, and lots more. They do this with the MyBKExperience Survey that allows customers to give honest reviews of their time at Burger King. What is MyBKExperience Burger King Survey? MyBKExperience survey is an online […]
How do I pay a New Jersey traffic ticket online at NJMCDirect?
Were you recently fined in New Jersey for violating traffic rules? If so, then you can easily make payments for traffic tickets without actually visiting the New Jersey Municipal Court by deploying NJMCDirect. In this post, you can find the entire guide to paying for traffic tickets on the platform. So, let’s begin! What is […]